How to Add Freon to Car: A Step-by-Step Guide
If you’ve noticed that your car’s air conditioning system isn’t cooling as effectively as it used to, the problem could be that it’s low on refrigerant, commonly referred to as Freon. Over time, the refrigerant in your A/C system can leak, reducing its efficiency and leaving you with a hot, uncomfortable ride.
If you’ve been wondering how to add Freon to car, you’ve come to the right place. Adding Freon (or more accurately, refrigerant) to your car’s A/C system is something that many car owners can do themselves with the right tools. In this guide, we’ll walk you through the steps to safely and effectively recharge your car’s A/C system.
Freon is a common term used to describe refrigerants used in air conditioning systems, including in cars. However, Freon specifically refers to the older R12 refrigerant, which has been largely replaced by R134a in most modern vehicles.
Freon (or R134a) is essential for your car’s A/C system to function properly. It absorbs heat from the air inside the cabin and releases it outside, making the air cooler. Over time, refrigerant can escape from the system due to leaks or natural wear, causing the air conditioner to lose its cooling power.
Before you start adding Freon to your car’s A/C, it’s important to determine whether you actually need it. Here are some common signs that indicate your car’s A/C system may be low on refrigerant:
If you experience any of these signs, it might be time to check and possibly add refrigerant to your car’s A/C system.
Before you begin, make sure you have the necessary tools and materials:
Step 1: Check the A/C System
Before adding refrigerant, check to see if there are any obvious leaks in the A/C system. Look for oily spots around the hoses or compressor, as refrigerant leaks often leave behind an oily residue. If you find a leak, you will need to have it repaired before recharging the system.
Step 2: Locate the Low-Pressure Service Port
To add refrigerant to your car’s A/C system, you’ll need to locate the low-pressure service port. This is typically a smaller port located on the larger of the two A/C hoses (the other is the high-pressure port). The low-pressure port is where you’ll connect the refrigerant hose.
Step 3: Attach the Recharge Hose to the Service Port
Next, connect the recharge hose from your A/C recharge kit to the low-pressure service port. Ensure that the connection is secure and that the hose is not leaking.
Step 4: Check the Pressure Gauge
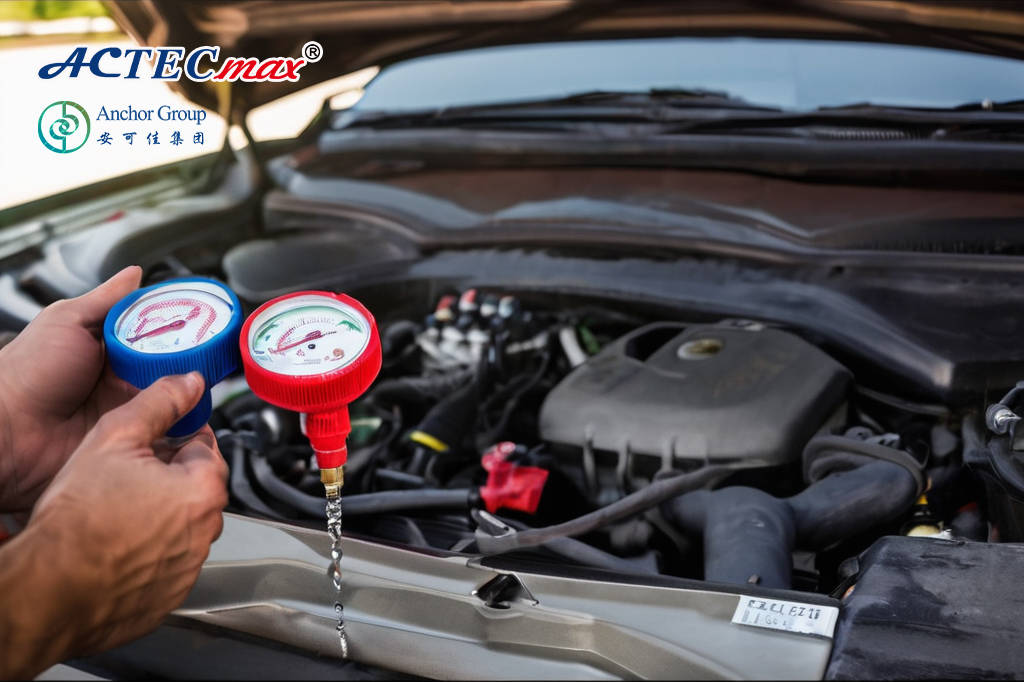
Before adding refrigerant, check the pressure gauge on the recharge kit to get a reading of the system’s pressure. The gauge will indicate whether the pressure is too low (which means you need to add refrigerant) or normal.
Step 5: Add the Refrigerant
Once the hose is securely attached and the gauge shows low pressure, you can start adding refrigerant. Follow these steps:
Step 6: Check the Pressure Again
After adding the refrigerant, check the pressure gauge again. It should now be within the recommended range. If it’s still low, you can add more refrigerant, but be sure to stop once the gauge reaches the proper level.
Step 7: Disconnect and Test the A/C
Once the refrigerant is added, disconnect the hose from the service port, and close the valve on the refrigerant can. Turn on the A/C and check if the air is now blowing cooler. The system should now be blowing colder air, indicating that the refrigerant has been successfully added.
While adding Freon to your car is a relatively simple process, there are some situations where you should call a professional mechanic:
Knowing how to add Freon to car is a useful skill for maintaining your vehicle’s A/C system, especially during the summer months. By following the steps in this guide, you can quickly and safely recharge your car’s refrigerant levels, ensuring a comfortable, cool ride. If you’re unsure about any part of the process or if the system continues to have issues, don’t hesitate to seek professional help to ensure your car’s A/C system is in top working condition.